VPN connection
A VPN connection makes it possible to get direct access to the University's network for example the E-resources of the National Library.
Snara can be used without a VPN by signing into your Ugla account, press "Meira", "Innskráning" and choose "Innskrá með Microsoft".
This service is only meant to be used for restricted websites like the aforementioned.
Please note that hotels often block the use of VPN services on their networks.
Set up instructions
- Download GlobalProtect 64-bit through vpn.hi.is. Sign in using your university email (username@hi.is) and password if prompted.
- Open the file. It should be located in your downloads folder.
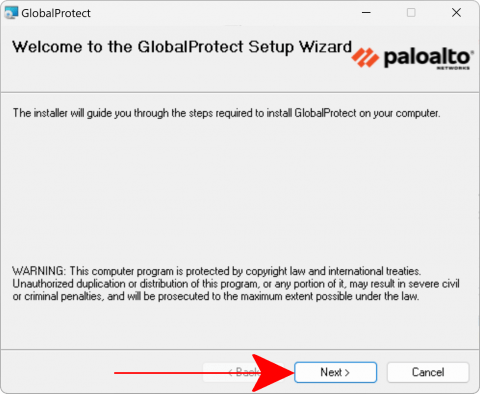
- Click on "Next":
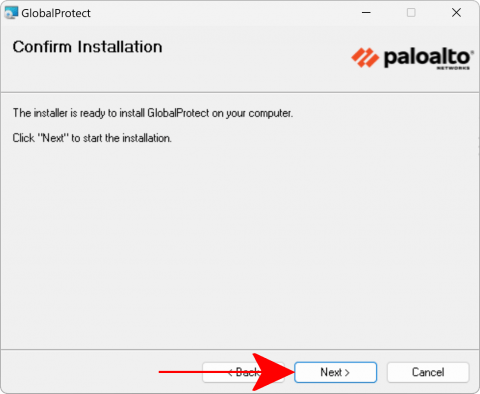
- Click on "Next" again:
- Finish the installation by pressing "Next":
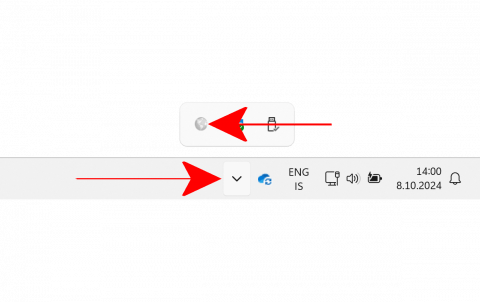
- Once the application has been installed it can be found in the bottom right corner. It might be hidden under the arrow.
Click on the icon 🌍︎:
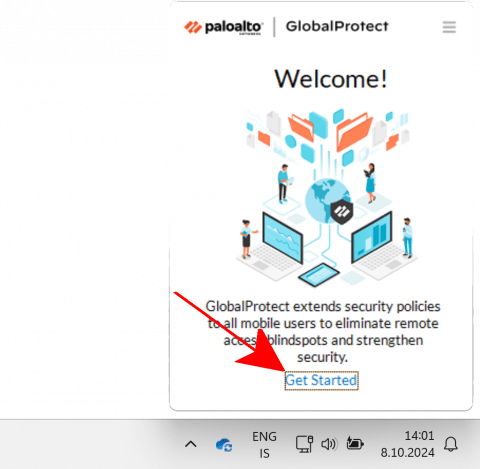
- Select "Get Started":
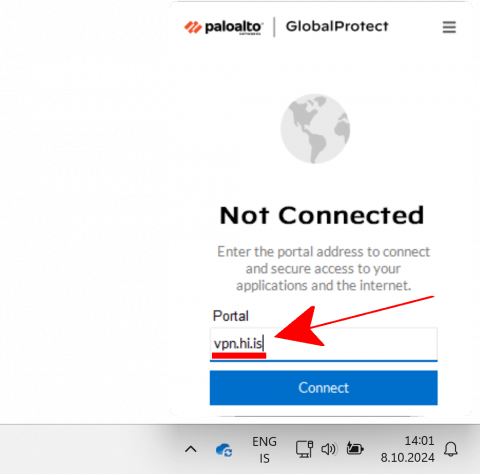
- Type vpn.hi.is under "Portal" and click on "Connect":
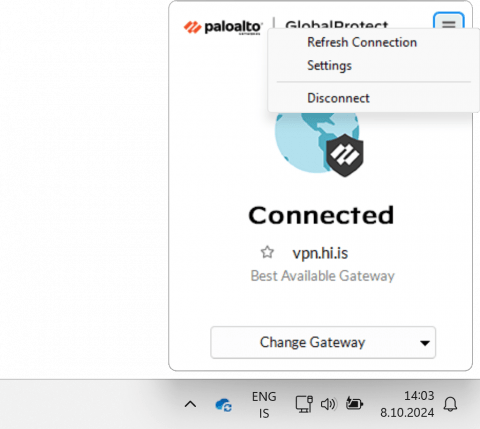
- Now you only need to sign in to your university account to connect the VPN:
The VPN is disconnected by clicking on the three lines ☰ and selecting "Disconnect":
- Download GlobalProtect for Mac through vpn.hi.is. Sign in using your university email (username@hi.is) and password if prompted.
- Open the file. It should be located in your downloads folder.
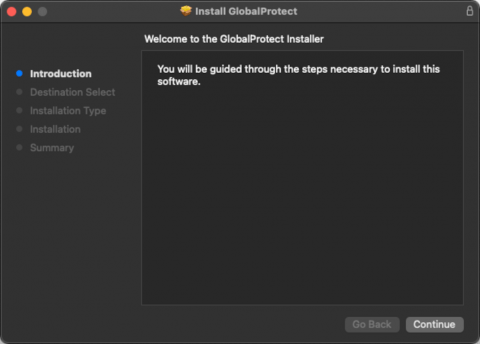
- click on "Continue":
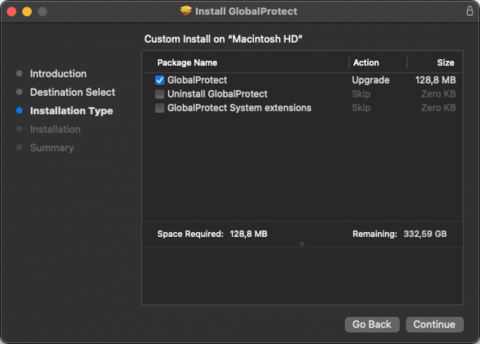
- Click on continue again:
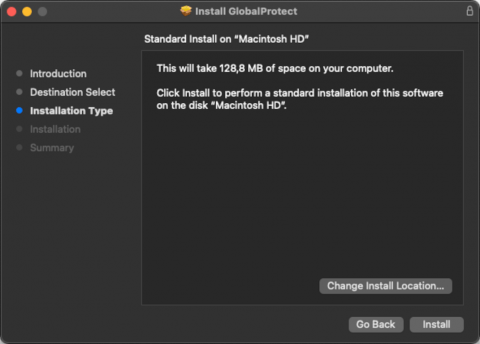
- Now select "Install":
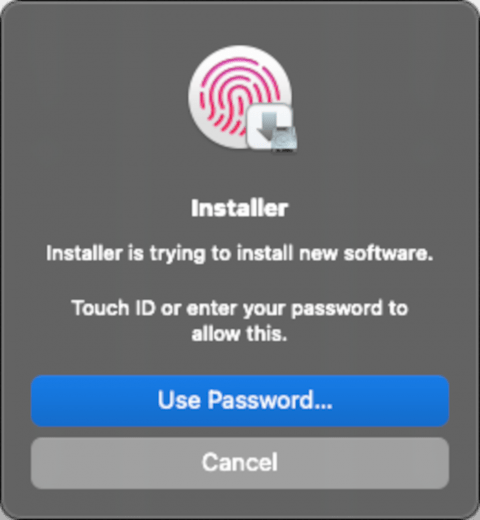
- Enter the computer authentication:
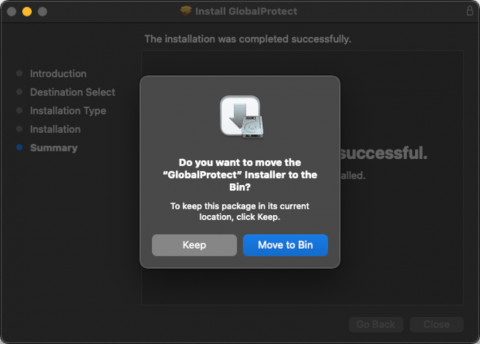
- Select "Move to Bin":
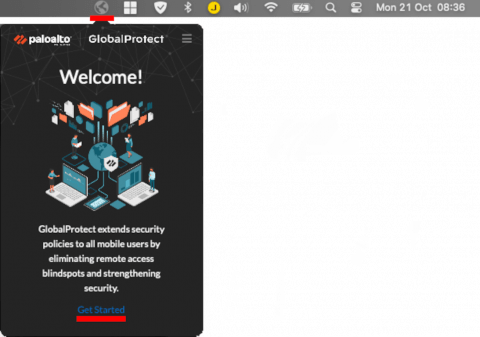
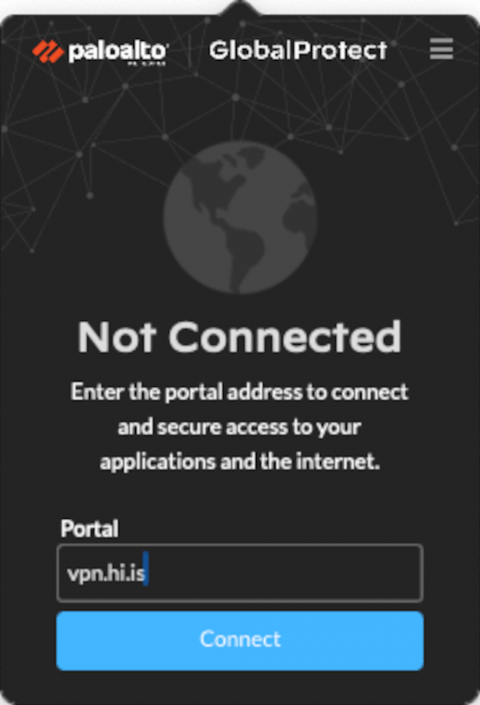
- The GlobalProtect 🌍︎ app will now appear on the menu bar in the top right corner. Click on the icon and select "Get Started":
- Type vpn.hi.is under "Portal":
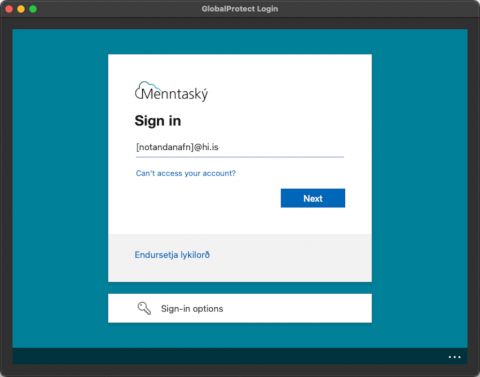
- Now you only need to sign in to your university account to connect to the VPN:
The VPN is disconnected by clicking "Disconnect":
- Go to "Settings and Networks".
- Click on "+" under VPN.
- Name the VPN connection. Click on "VPN Protocol" and select "Palo Alto Networks GlobalProtect"
- The gateway is vpn.hi.is
- Click on "Connect".
- A new window will open momentarily where you sign in with your university email and password.
- Select "Yes".
- Select "Connect" again and then "Login". You may need to click on it 1-3 times before the VPN connects.
- Download GlobalProtect through the App Store and then open the app.
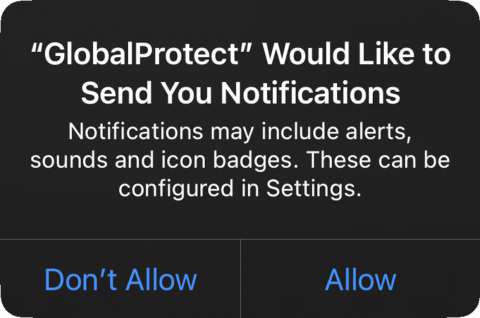
- Here we recommend accepting status notifications for the VPN (for example if the VPN loses the connection):
- Accept the terms of service.
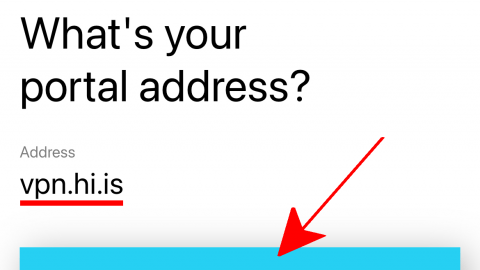
- Type vpn.hi.is under "Address":
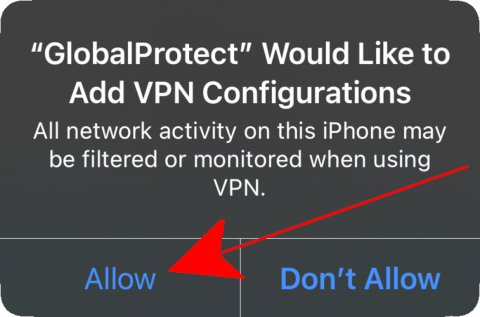
- Authorize GlobalProtect to create a VPN connection:
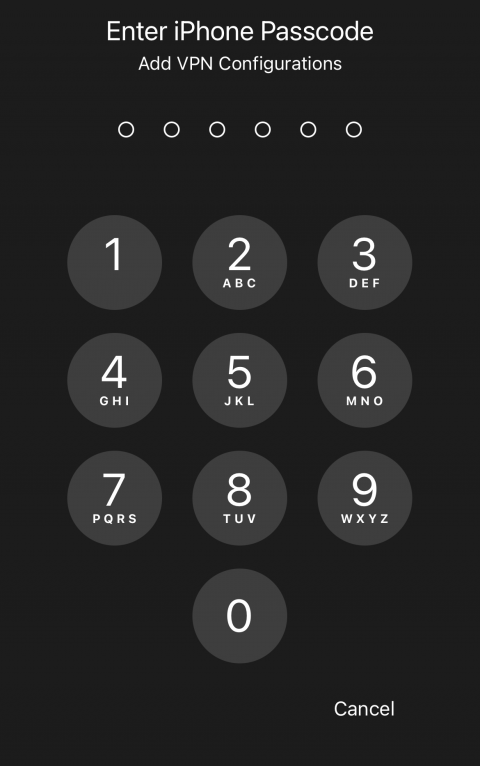
- Enter the phone's authentication:
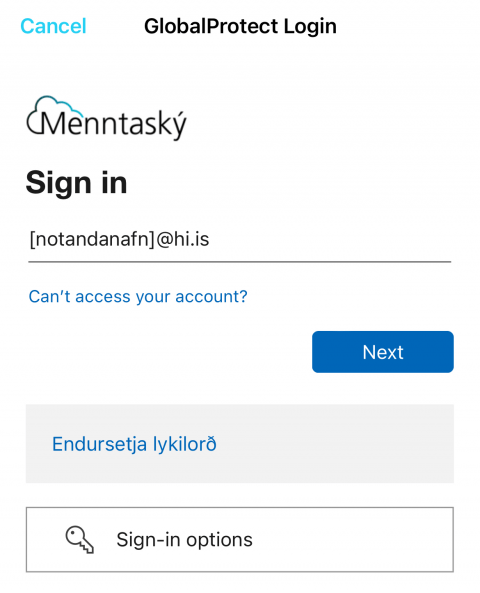
- Sign in to your university account to connect to the VPN:
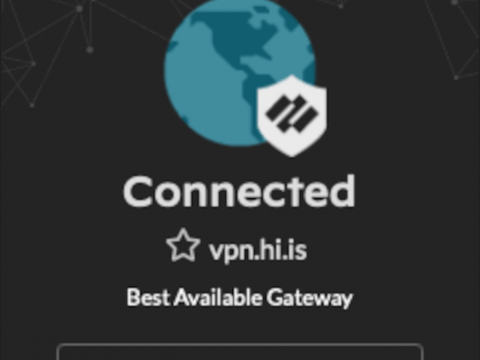
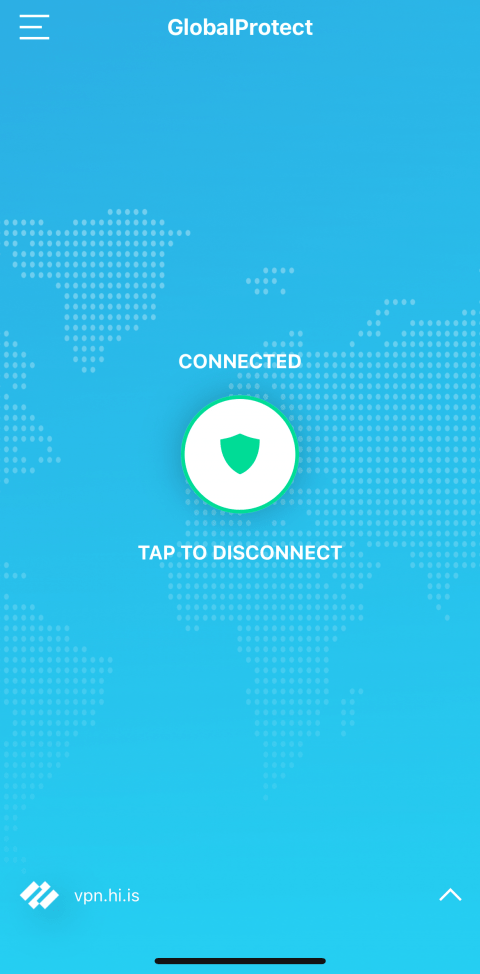
- The device is now connected to the VPN.
The VPN is disconnected by clicking on the center or by selecting the three lines ☰ and then selecting"Disconnect":
- Download "GlobalProtect" through the Play Store and then open it.
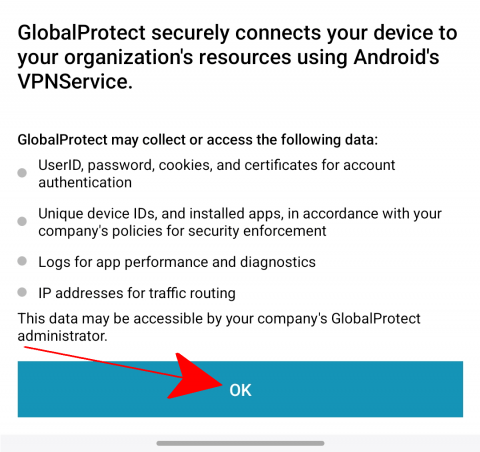
- Accept the terms of service by pressing "OK":
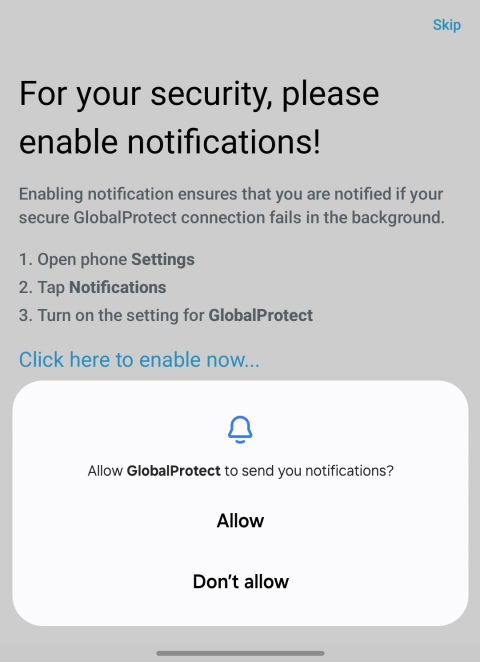
- Here we recommend accepting status notifications for the VPN (for example if the VPN loses the connection):
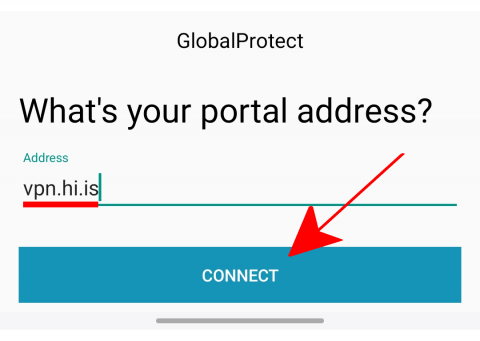
- Type vpn.hi.is under "Address":
- Sign in to your university account to connect to the VPN.
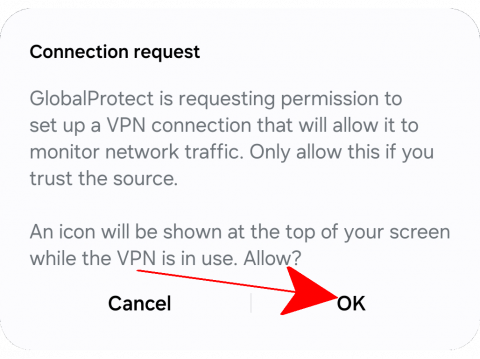
- Authorize GlobalProtect to create a VPN connection:
- The device is now connected to the VPN:
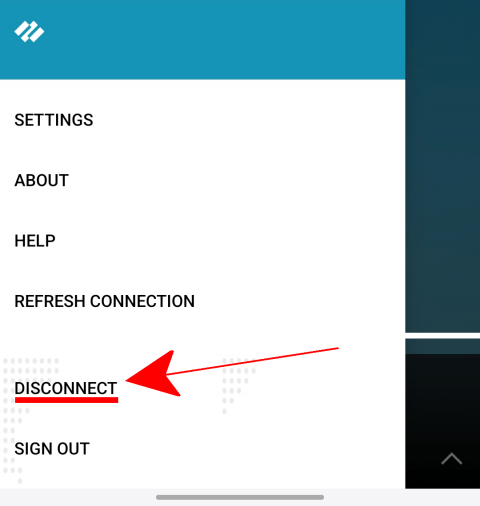
The VPN is disconnected by clicking on the center or by selecting the three lines ☰ and then selecting"Disconnect":
