Printing and scanning - Staff
The University of Iceland has signed a service contract with Origo for the implementation of cloud printers called "Prentský" in the university. All staff can use those printers.
The divisions also offer printers that do not belong to the "Prentský" but they differ in setup. You can get assistance with setting them up by creating a ticket through the IT Service Portal with the location of the printer.
Staff can print in the computer labs by buying print credits.
Cloud printing for staff
The cloud printers are available at the following locations:
- Askja: 3 printers,
- 1st. floor department offices
- 2nd. floor east end.
- 3rd. floor vest end.
- Árnagarður: 1 printer on the southside of the 4th floor.
- Edda: 2 printers
- 1st. floor.
- 2nd. floor.
- Gimli: 1 printer on the 3rd. floor.
- Gróska: 2 printers.
- 1st. floor Science park.
- 3rd floor Computer science.
- Main building: 5 printers, three on the 1st. floor, one on the 2nd. floor and one on the 3rd. floor.
- 1st floor payroll office.
- 1st. floor under the lobby stairs.
- 1st. floor rector offices.
- 2nd floor, room 222 finance division.
- 3rd. floor humanity division.
- Nýja Garður: 3 printers.
- 1st floor south side.
- 2nd. floor north side.
- 3rd. floor north side.
- Tæknigarður: 3 printers.
- 1st. floor.
- 2nd. floor.
- 3rd. floor.
- Setberg: 1 printer on the 1st. floor.
- Skólabraut : 1 printer on the 3rd. floor.
- Stakkahlíð: 1 printer in the hallway on the 2nd floor (Múla).
- Veröld: 1 printer on the 3rd. floor.
- VR2: 2 printers, one on the 2nd floor and the other on the 3rd. floor.
- 2nd. floor.
- 3rd. floor.
- VR3: 3 printers.
- 1st. floor.
- 2nd. floor.
- 3rd. floor.
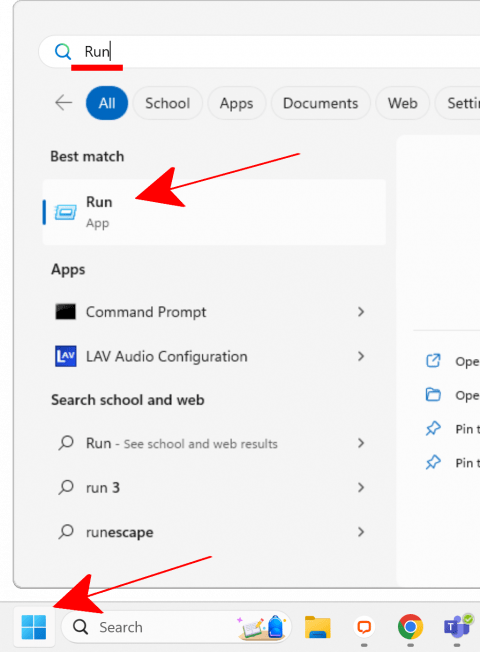
- Go to the windows start menu and write "run" and click "enter":
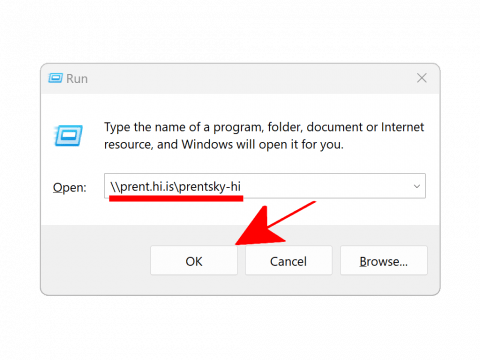
- Write \\prent.hi.is\prentsky-hi and click "OK":
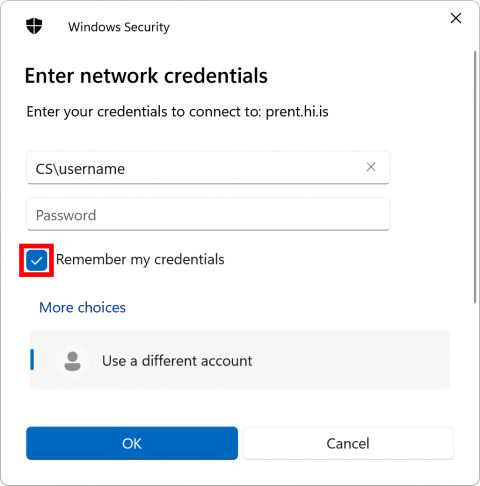
- Authentication is required here. Please put CS\ in front of your username like this "CS\username" and do not write @hi.is. If the computer asks for elevated rights then you will need to contact IT through the Service Portal:
- Now you should be connected to the print cloud and should be able to print. Default setting is black and white and printed on both sides.
The first time you print you need to go to the printer and follow the instructions on the poster to enable the card or keyfob (the same you use to enter buildings). Next time you print you can walk up to any Origo printer at UI and scan your card or keyfob and the document should print out, if you don't have your card/keyfob you can enter your ugla username and password instead.
- Start by downloading the driver.
- Run it and finish the installation (Continue → Agree → Install).
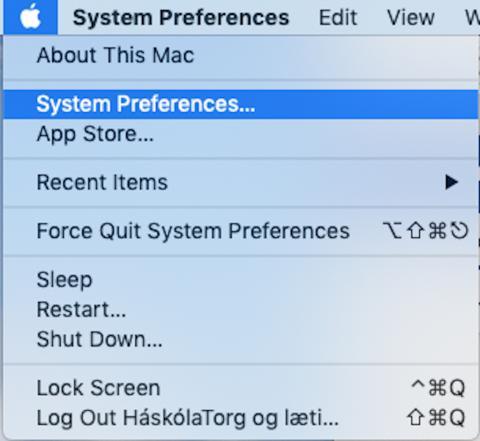
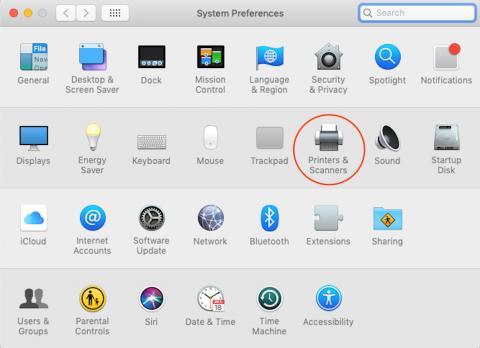
- Click the Apple logo in upper left corner and go to "System Preferences":
- Open "Printers & Scanners":
- Click on the plus sign at the bottom left of the window or "Add Printer..." (depending on which version of MacOS you have).
MacOS older then 13: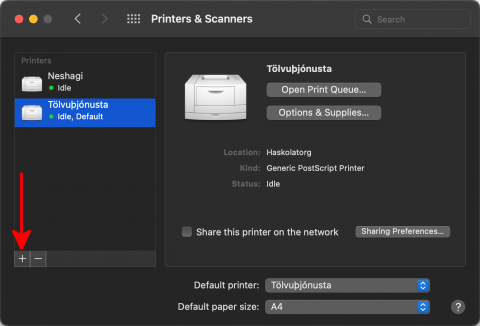
MacOS 13 Ventura: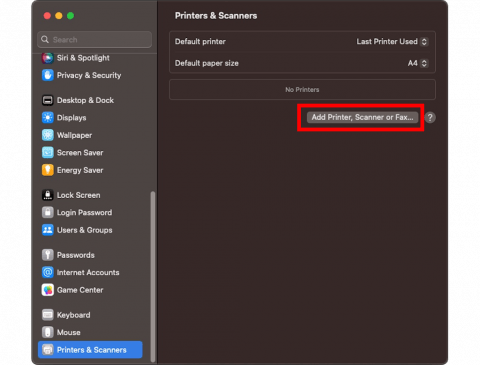
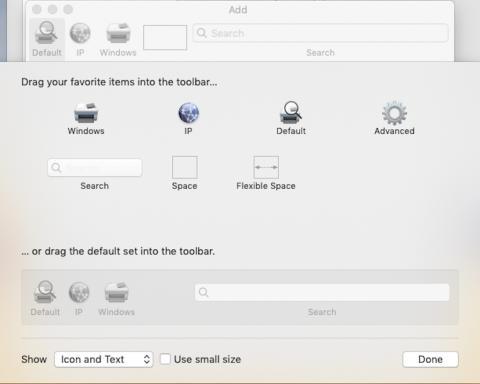
- Right click the menu bar (might need to hold in Option and click) and choose "Customize Toolbar"
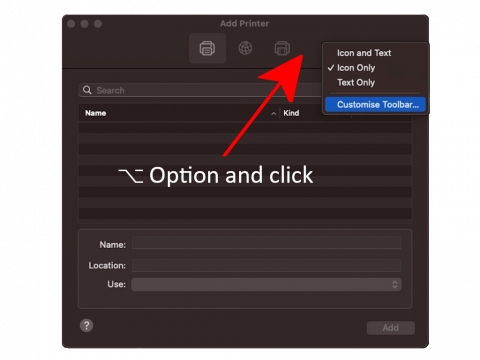
- Drag "Advanced" to the menu bar and click "Done"
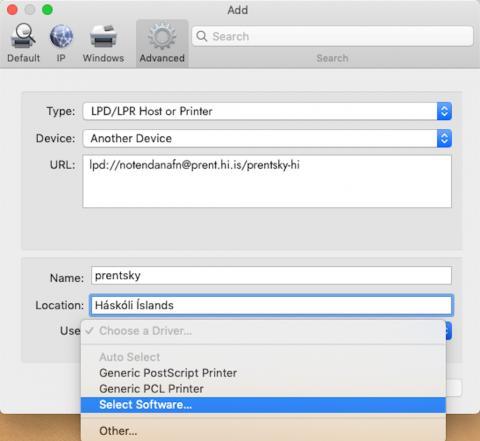
- Click "Advanced" at the top of the window and type in the settings as listed below.
- Type: LPD/LPR Host or Printer
- Device: Another Device
- URL: Insert this URL lpd://yourusername@prent.hi.is/prentsky-hi (NOTE that instead of "notendanafn" inside the URL you type in your own username so it would look something like "lpd://blaerblondal@prent.hi.is/prentsky-hi")
- Name og Location: You can type in what you want here.
- Use: Choose "Select Software...". A window will open which can be seen in the next step.
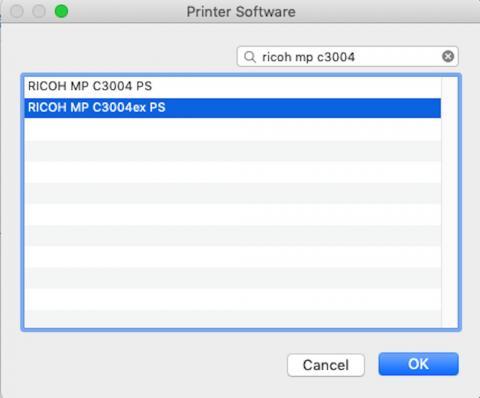
- Choose the driver RICOH MP C3004ex PS and click "OK"
- Click "Add"
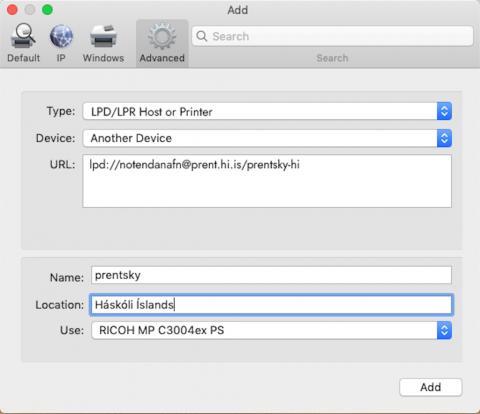
- The printer has been setup
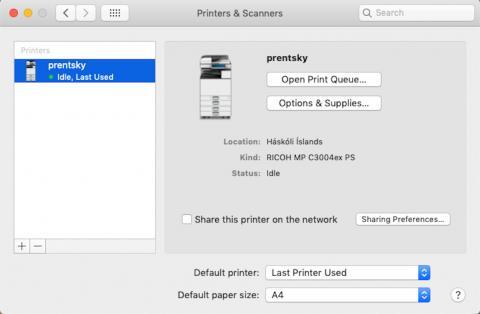
- Default setting is black and white, printed on both sides so you need to change the settings if you want it any other way.
The first time you print you need to go to the printer and follow the instructions on the poster to enable the card or keyfob (the same you use to enter buildings). Next time you print you can walk up to any optima printer at UI and scan your card or keyfob and the document should print out, if you don't have your card/keyfob you can enter your ugla username and password instead.
The steps might look a little different between linux distros but should work for most.
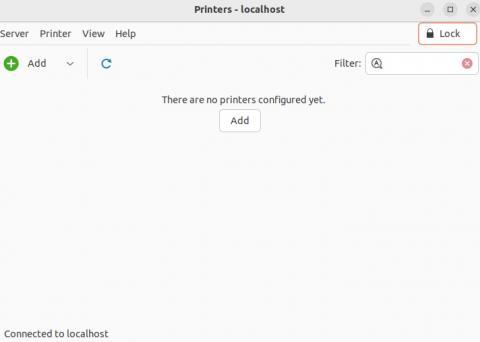
- Open "Print Settings" and click "+ Add". You might need to put in your password a few times during the setup depending on your system.
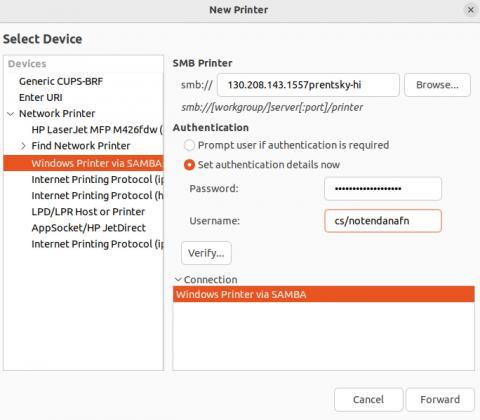
- In the "New Printer" windows click Network Printer -> Windows Printer via SAMBA. Under SMB Printer write: 130.208.143.155/prentsky-hi. In password put the University password and in Username put: CS\your ugla username.
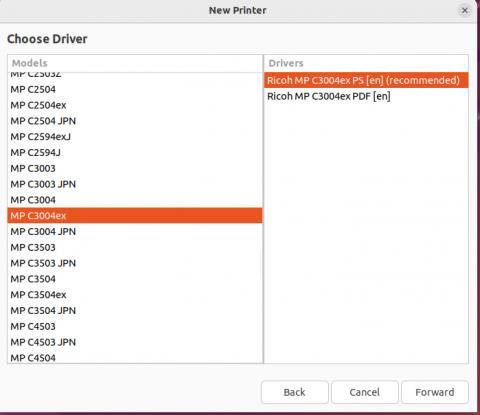
- Choose Ricoh from the list and click "Forward"
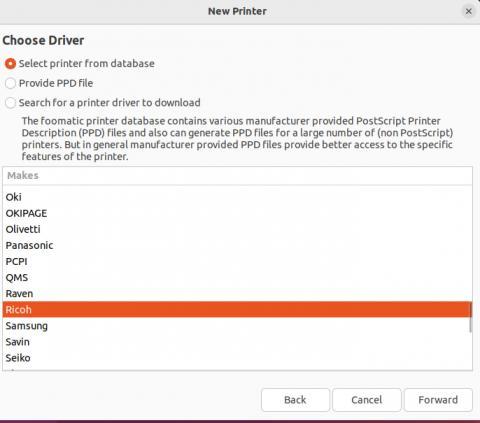
- Choose MP C3004ex and Ricoh MP C3004ex PS and click "Forward"
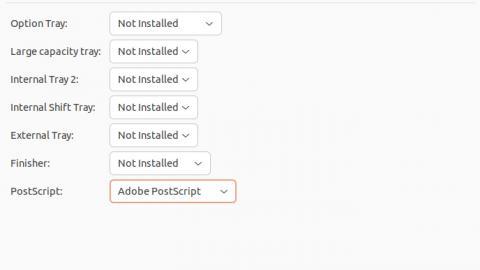
- Change PostScript to Adobe PostScript
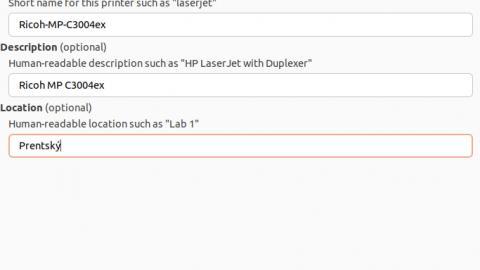
- Write whatever you like in Location and click "Apply"
- When the setup is finished you should be able to print out. Default setting is grayscale, printed on both sides so you need to change the settings if you want it any other way. The first time you print you need to go to the printer and follow the instructions on the poster to enable the card or keyfob (the same you use to enter buildings). Next time you print you can walk up to any optima printer at UI and scan your card or keyfob and the document should print out, if you don't have your card/keyfob you can enter your ugla username and password instead
The first time you print you need to go to the printer and follow the instructions on the poster to enable the card or keyfob (the same you use to enter buildings). Next time you print you can walk up to any Origo printer at UI and scan your card or keyfob and the document should print out, if you don't have your card/keyfob you can enter your ugla username and password instead.
Common issues
This message means that an admin credential is required, you can send in a help request through the IT Service Portal if you do not have admin rights to the computer.
If the print cloud is already setup but not working for 1 particular user it might be best to remove it and set it up again.
- Windows: Click on the start button and start typing "Printers and scanners", click on it, select prentský and "Remove device".
- MacOS: Open "System preferences", click on Printers & scanners", select prentský and click on the minus button.
The cloud printers are equipped with sensors that notify Origo when something goes wrong. However if that doesnt happen then you can send in a help request through the IT Service Portal with the location of the printer and the service number that is written on the side of it.
- The most common reason why you cant print is because you are not connected to a university network through Eduroam, hinet6 or with a wired connection (In Eirberg it is not possible to print through Eduroam).
- If the printer has a screen then you can often see what the error is on it.
- You can send in a help request through the IT Service Portal if you need more assistance.
- The print cloud printers notify Origo when they are out of ink. However if that doesnt happen then you can send in a help request through the IT Service Portal with the location of the printer and the service number that is written on the side of it.
- The department orders ink for the other printers and also paper for both types of printers (except for the computer labs).